Meringue is one of those recipes that can make anyone feel like a professional pastry chef — even if it’s your first time in the kitchen! The beauty of this amazing basic meringue recipe lies in its simplicity and versatility. Whether you are using it to top a lemon pie, making those delightful cloud-like kisses, or crafting elegant pavlovas, meringue has an ethereal quality that brings a touch of magic to any dessert. In this article, we’ll guide you step-by-step to make the perfect meringue every time, share tips to ensure your success, and answer common questions about this sweet, airy delight.
What Is Meringue?
Meringue is a delicate confection made from egg whites and sugar, whipped until light and fluffy. The resulting foam is then baked to perfection, yielding a crisp shell with a marshmallow-like interior or an all-around crunchy bite depending on your cooking time and preferences. Originating from Europe, meringue is often associated with France, Switzerland, and Italy, each with their unique methods of preparation. French meringue, Swiss meringue, and Italian meringue each have their own charm, but our focus today is on the classic French meringue, which is the easiest to make — perfect for beginners and versatile enough for all your baking adventures.
The French meringue is all about simplicity. It uses just two main ingredients: egg whites and sugar. The magic happens in how you whip them together to create a texture so light, it almost defies gravity. When baked, French meringue can be as light and airy as a cloud or as crisp and crunchy as you desire, depending on your cooking time and approach. It’s the foundation for many delightful desserts like pavlovas, dacquoise, and even whimsical decorations for cakes and pies.
Ingredients You Will Need:
- 4 large egg whites (room temperature)
- 1 cup granulated sugar
- ½ teaspoon cream of tartar (optional but highly recommended)
- 1 teaspoon vanilla extract
Instructions: How to Make the Perfect Meringue
- Prepare Your Tools
Start by making sure your mixing bowl and beaters are clean and free of any grease. Even the slightest bit of fat can prevent egg whites from whipping up properly. If needed, wipe them down with a bit of white vinegar to ensure they’re spotless. This step is crucial because fat is the enemy of fluffy meringue. Any residue can deflate your egg whites, making it impossible to achieve the light, airy peaks you’re aiming for.
Stainless steel or glass bowls are preferable over plastic, as plastic bowls tend to retain grease even after washing. Also, ensure that the egg whites have no trace of yolk in them, as yolks contain fat that will inhibit the process. It may seem tedious, but the attention to detail here will pay off in the end with perfectly whipped meringue.
-
Whip the Egg Whites
Place the egg whites in your mixing bowl and begin beating on low speed. Add the cream of tartar — this helps stabilize the whites — and increase the speed gradually to medium. Once the egg whites become frothy, continue mixing until they form soft peaks. Soft peaks are achieved when the mixture has thickened enough to hold its shape but still falls over softly when the beaters are lifted.
Cream of tartar, while optional, is highly recommended because it helps maintain the stability of the egg whites. This means your meringue will hold up better, especially during baking. If you don’t have cream of tartar, you can substitute it with a teaspoon of lemon juice or white vinegar.
-
Add the Sugar Slowly
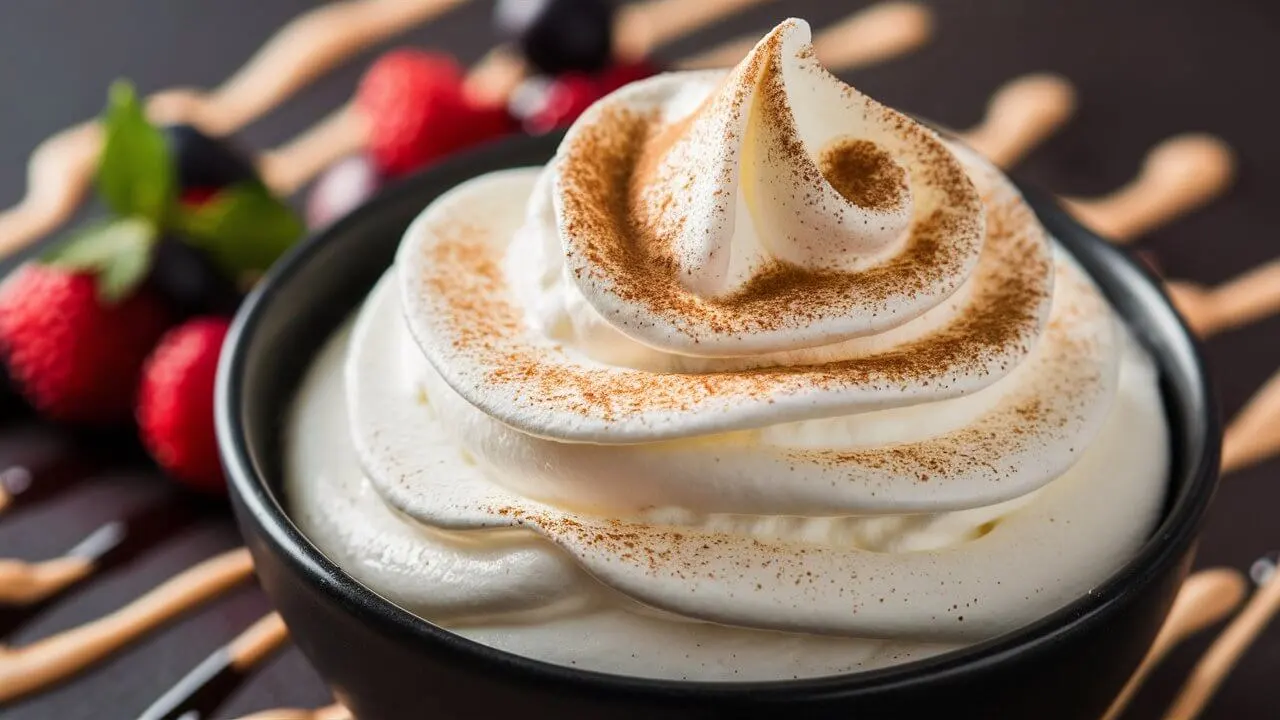
Add sugar gradually one tablespoon at a time. Take your time with this step; slow sugar incorporation is key to dissolving the sugar and creating a glossy, stable meringue. Continue to beat until stiff peaks form — the mixture should look thick, glossy, and should hold its shape when you lift the beaters.
Stiff peaks are reached when the meringue can stand straight up without drooping. Be patient during this process. Adding sugar too quickly or failing to beat the mixture long enough can lead to a grainy texture or a meringue that deflates during baking. Rub a small amount of the mixture between your fingers; if it feels smooth and not gritty, the sugar has dissolved completely.
-
Add Flavoring
Gently fold in the vanilla extract. You can also use other flavorings such as almond or peppermint for a unique twist. Adding flavoring at the end ensures that it doesn’t affect the stability of the egg whites as they whip. You can get creative with your meringue by using different extracts or even food coloring for a festive touch.
Remember to be gentle during this step — folding in flavoring should be done slowly and with a soft hand to avoid deflating the meringue. The goal is to keep as much air in the mixture as possible, maintaining the lightness that is key to good meringue.
-
Shape and Bake
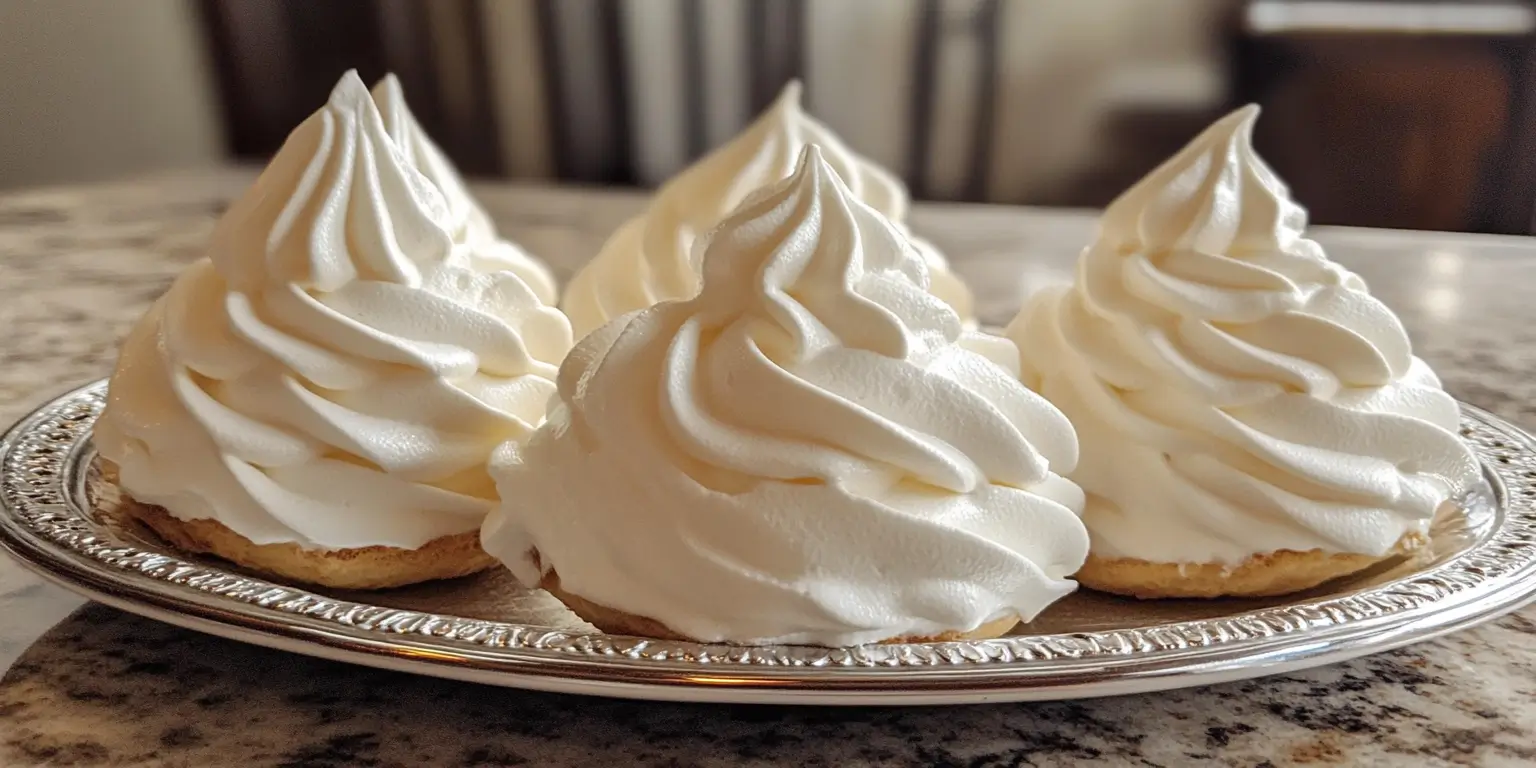
Spoon or pipe the meringue onto a parchment-lined baking sheet in your desired shapes. For meringue cookies, bake at 200°F (95°C) for 1.5 to 2 hours, or until the meringues are crisp and dry to the touch. For a pavlova, bake at a similar temperature but adjust the time for a larger, single meringue.
Piping the meringue into shapes can be a fun part of the process. You can use a pastry bag fitted with a star tip to create beautiful rosettes or make simple dollops with a spoon. The key to baking meringue is low and slow — this prevents browning and allows the meringue to dry out properly, achieving that classic crisp texture.
You can also experiment with adding small decorations before baking. Sprinkles, chopped nuts, or a dusting of cocoa powder can add a decorative touch and extra flavor to your meringues.
-
Cool and Enjoy
Let the meringues to cool in the oven with the door slightly ajar. This will help avoid cracking and ensure the perfect texture. Cooling the meringues in the oven is an essential step, as sudden changes in temperature can cause the delicate structure to crack. Leaving the oven door ajar allows the meringues to cool gradually, which helps them stay intact and maintain their beautiful shape.
Once cooled, the meringues should be light, airy, and melt in your mouth. They are perfect on their own or can be paired with whipped cream and fresh fruit for a delicious dessert.
Tips for Success:
- Room Temperature Whites: Egg whites whip best when they’re at room temperature. Get them out of the fridge for 30 minutes before you start. Cold egg whites are more difficult to whip to full volume, so this simple step can make a big difference in your results.
- Add Sugar Slowly: Don’t rush adding the sugar — giving it time to dissolve makes for smoother, shinier meringue. If the sugar is added too quickly, it will lead to a gritty texture. The slow addition also helps to build the stability of the mixture, making it more resistant to deflation.
- Humidity Warning: Meringue doesn’t love humidity. On a damp day, it’s tougher to get those whites to stay crisp, so try to pick a dry day if possible! High humidity can cause meringue to become sticky and fail to crisp up properly. If you must make meringue on a humid day, consider using a dehumidifier in the kitchen.
- Use Fresh Eggs: Fresh egg whites are best for meringue as they have more structure compared to older eggs. This will help your meringue achieve better volume and stability.
- Clean Tools Are Essential: Even a small amount of grease can ruin your meringue. Ensure all tools are thoroughly cleaned, including bowls, beaters, and spatulas.
Variations and Flavor Twists
- Chocolate Swirl: Gently fold in a few teaspoons of cocoa powder for a chocolatey twist. To make it extra special, you could add finely chopped dark chocolate or even swirl in some melted chocolate for a marbled effect.
- Lemon Zest: Add a little lemon zest for a refreshing citrus burst. Lemon pairs beautifully with the sweetness of meringue, adding a bright, tangy flavor. Add a touch of lemon extract for even more zing.
- Peppermint: Perfect for the holidays — add peppermint extract instead of vanilla and sprinkle crushed peppermint candies on top before baking. This variation is great for festive gatherings and adds a bit of crunchy texture to the soft meringue.
- Espresso: Add a teaspoon of instant espresso powder for a sophisticated coffee flavor. Espresso meringues pair wonderfully with dark chocolate desserts or can be enjoyed on their own with a cup of coffee.
- Coconut: Gently fold in some shredded coconut for a tropical twist. The coconut will add a bit of chewiness and complement the sweetness of the meringue beautifully.
Prep Time, Cooking Time, and Serving Info
- Prep Time: 15 minutes
- Cooking Time: 1.5 to 2 hours
- Total Time: 2 hours 15 minutes
- Servings: 24 meringue cookies
- Calories: Approximately 20 calories per cookie
Frequently Asked Questions (FAQs)
- Why did my meringue turn out grainy?
Grainy meringue is usually a result of undissolved sugar. Make sure to add the sugar gradually and give it time to fully dissolve while beating. If you’re unsure, rub a small amount of the mixture between your fingers; it should feel smooth, not gritty. - How do I know when my meringue is done baking?
Meringues are done when they easily lift off the parchment and feel dry to the touch. If they feel sticky or soft, give them more time. You can also tap the bottom of a meringue; if it sounds hollow, it’s done. - Can I store meringues?
Yes! Keep meringues in a container at room temperature for up to two weeks. Humidity will make them sticky, so keep them dry. If you live in a humid area, you can add a few silica gel packs to the container to help keep moisture at bay. - What happens if I overbeat the egg whites?
Overbeaten whites can collapse and lose their glossy texture. They may start to look dry and grainy. Stop once you reach stiff, glossy peaks to avoid this. If your mixture starts to look curdled, unfortunately, it may be too far gone, and you might need to start over. -
Can I make meringue without cream of tartar?
Absolutely. While cream of tartar helps stabilize the egg whites, you can substitute it with a bit of lemon juice or simply omit it if you’re careful with your whipping. Just be sure to whip the whites until they are foamy before adding any sugar, as this helps build initial stability.
- Can I color my meringue?
Yes, you can color your meringue! Use gel food coloring rather than liquid to avoid adding too much moisture to the mixture. Gently fold in the color at the end of the whipping process to maintain the meringue’s volume. - How can I make my meringue extra crisp?
If you want super crisp meringue, leave it in the oven for an extra hour after baking with the heat turned off and the door slightly ajar. This allows the meringue to dry out completely without overbaking or browning.
Meringue is an absolute delight when done right — light, airy, and endlessly versatile. Whether you’re making cookies, pie toppings, or fancy pavlovas, mastering this basic recipe will elevate your dessert game to new heights. The satisfaction of biting into a crisp, perfectly sweet meringue is unmatched, and with these tips and tricks, you’ll be whipping up meringue magic in no time. So grab your mixer and get whipping — your sweet, fluffy creations are only a few steps away! Whether you decide to keep it classic or add a fun twist, meringue is sure to bring a little bit of sweetness and joy to your kitchen.

