Granola, my friends, is one of those breakfasts that feels like a warm hug to your morning routine. Whether sprinkled over a bowl of creamy Greek yogurt, swimming in cold almond milk, or eaten straight out of the jar, this healthy homemade granola will make your day just a little bit brighter. Crafted from whole ingredients and customizable to fit your favorite flavors, this granola is all about nourishment and a little bit of indulgence. Today, I’m putting on my chef’s hat to share a recipe that’s been a staple in my kitchen – a wholesome, flavorful granola that’s easy to make, easy to love, and guaranteed to be a favorite in your household.
Why Make Granola at Home?
First things first – why bother making granola at home when there are rows of perfectly fine, shiny-packaged versions sitting on store shelves? To be honest, there’s a world of difference. Store-bought granola is often filled with hidden sugars, unnecessary oils, and preservatives that are far from wholesome. Plus, homemade granola gives you total control – want it extra nutty? You got it. Prefer it less sweet? Easy! Crafting granola at home means every single bite is exactly what you want it to be.
Not only that, but there’s something incredibly satisfying about making your own. It’s an act of self-care and an opportunity to fill your kitchen with the warm, comforting scent of toasty oats, cinnamon, and maple syrup. I guarantee, once you start making your own healthy homemade granola, you’ll never want to go back to store-bought. Plus, making granola is incredibly cost-effective – you get more servings, better quality, and the satisfaction of knowing exactly what’s in it.
Ingredients for Homemade Granola
- Oats: 3 cups old-fashioned rolled oats (not quick oats)
- Nuts and Seeds: 1 cup chopped nuts (almonds, walnuts, or pecans) and 1/2 cup seeds (sunflower, pumpkin, or chia seeds)
- Sweetener: 1/3 cup pure maple syrup or honey
- Oil: 1/4 cup coconut oil (melted) or olive oil
- Add-ins:
- 1/2 cup shredded unsweetened coconut (optional)
- 1/2 cup dried fruit (raisins, cranberries, or chopped dates)
- 1/4 cup dark chocolate chips (optional, for an indulgent twist)
- Flavor Boosters:
- 1 teaspoon vanilla extract
- 1 teaspoon ground cinnamon
- 1/4 teaspoon salt
- 1/4 teaspoon ground nutmeg (optional)
Instructions for the Perfect Crunch
- Preheat and Prep: Preheat your oven to 325°F (160°C). Put a baking sheet with parchment paper for easy cleanup. This also helps to ensure the granola doesn’t stick, making the process mess-free.
- Mix It Up: In a large mixing bowl, combine the rolled oats, chopped nuts, seeds, shredded coconut (if using), cinnamon, nutmeg (if using), and salt. Stir everything together to ensure the oats and nuts are well distributed. In another bowl, mix the melted coconut oil, maple syrup, and vanilla extract until becomes smooth. This step is where the magic starts – the wet mixture is what gives the granola its beautiful clumps and rich flavor.
- Bring It Together: Pour the wet mixture over the dry ingredients, making sure to coat everything evenly. Stir well until every oat, nut, and seed is coated in that delicious blend of maple syrup, oil, and vanilla. Taking the time to mix well here is crucial – it ensures each bite is packed with flavor and the oats get that beautiful golden crunch.
-
Spread and Bake: Spread the granola mixture onto your prepared baking sheet, pressing it down slightly to form an even layer. This will help you get those coveted clusters. Bake for 20-25 minutes, stirring halfway through to ensure it cooks evenly. Keep an eye on it during the last few minutes – you want golden, fragrant granola, not burnt bits! The granola will continue to crisp as it cools, so it’s better to take it out a touch early if you’re unsure.
- Cool and Customize: Once out of the oven, let the granola cool completely on the baking sheet. As it cools, it will crisp up even more, giving you that crunchy texture we all love. Once cooled, stir in your dried fruit, chocolate chips (if using), and any extra goodies you desire. Adding the dried fruit after baking ensures it stays tender and doesn’t burn, while chocolate chips add a little indulgence that’s just irresistible.
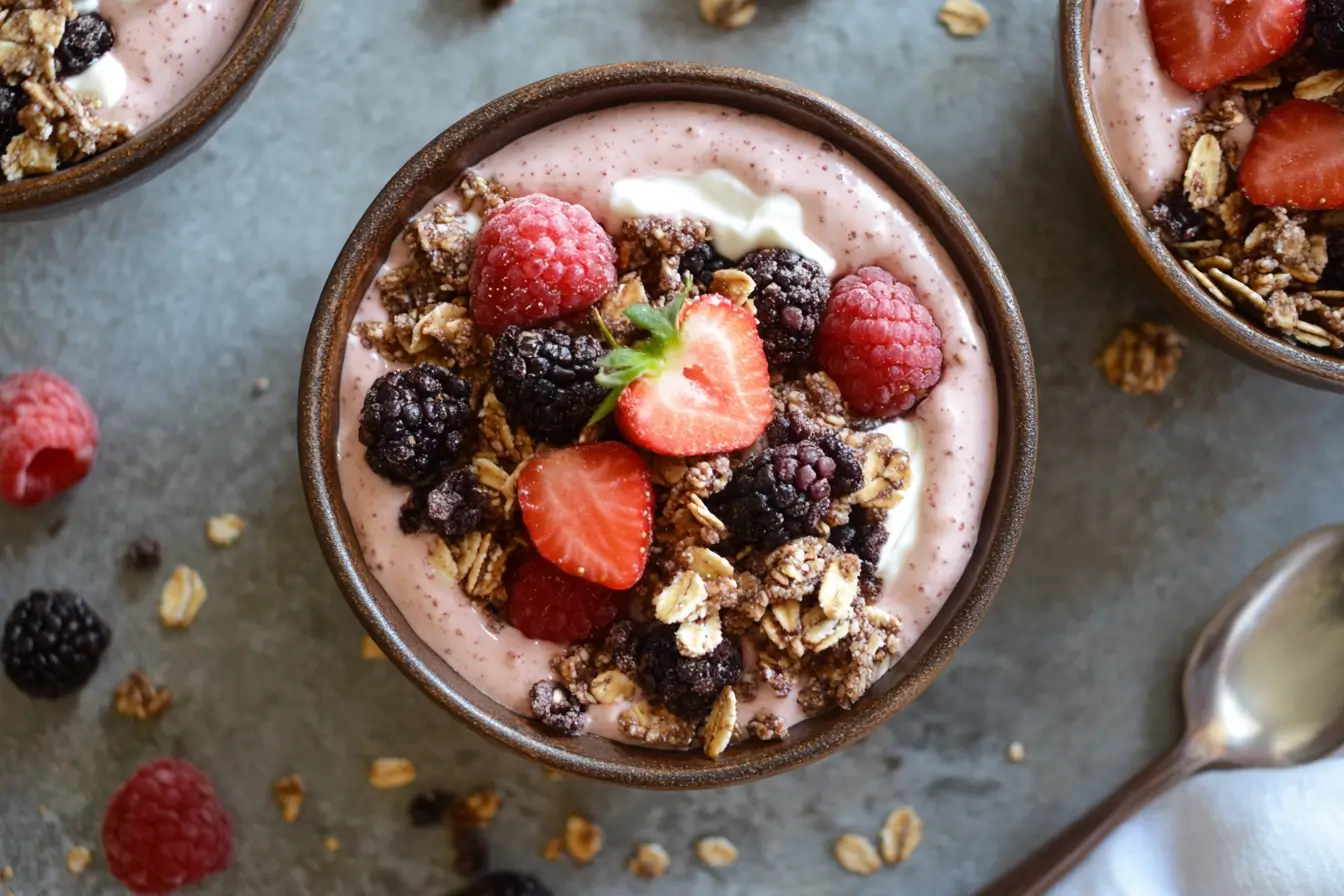
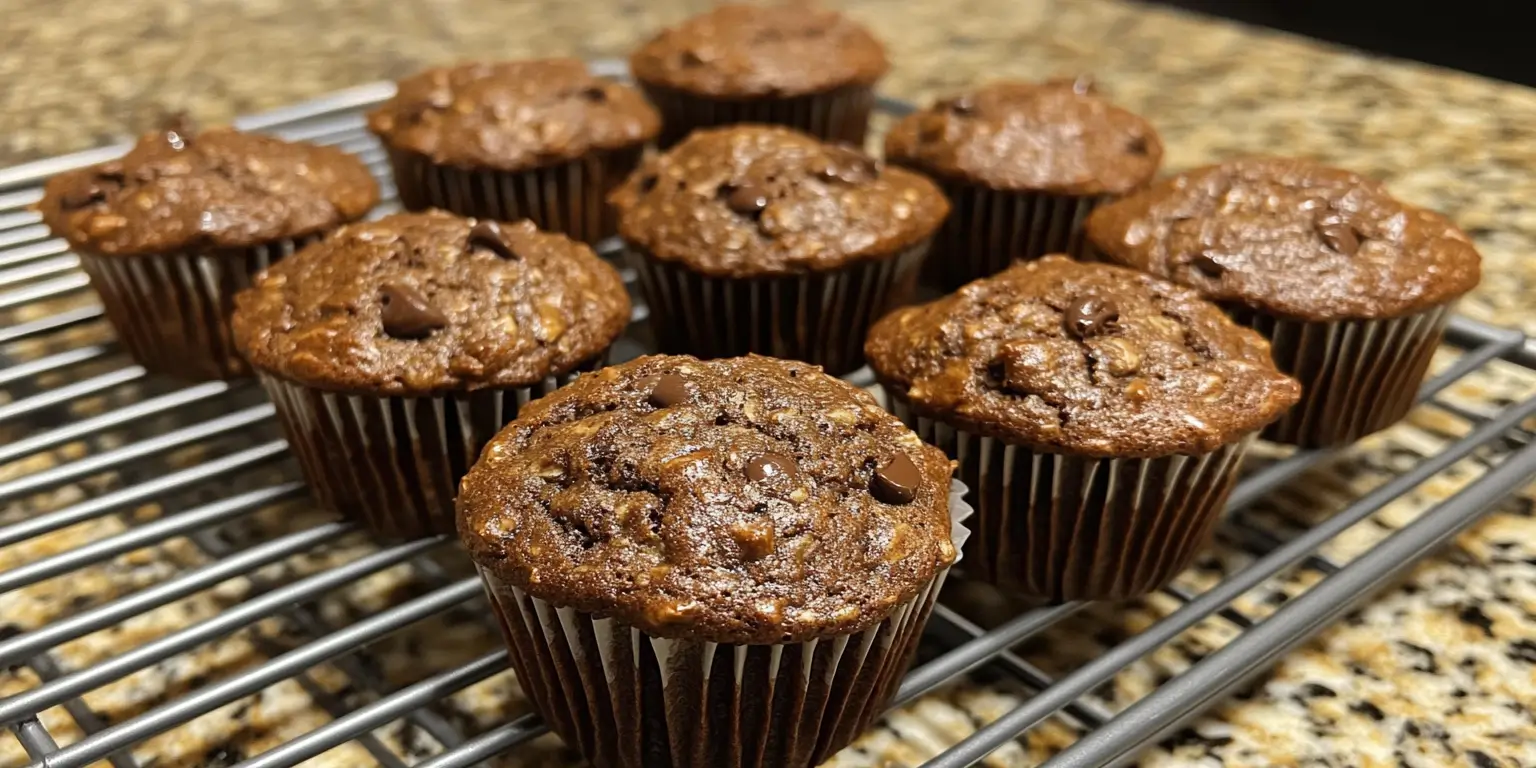
- Store and Enjoy: Transfer your healthy homemade granola to an airtight container, and it will keep for up to 2 weeks (if it lasts that long!). Enjoy it with yogurt, milk, or just by the handful. This granola also makes a fantastic topping for smoothie bowls, ice cream, or even as a crunchy addition to baked goods like muffins.
Tips for the Best Homemade Granola
- Cluster Lovers Rejoice: If you love those big granola clusters, don’t stir the granola too much while baking and let it cool completely before breaking it up. Pressing it down into a solid layer before baking also helps create those large, crunchy chunks that everyone loves.
- Sweetness Levels: Feel free to adjust the sweetness based on your taste. Maple syrup and honey are both great natural sweeteners, but you can cut back if you prefer a less sweet granola. If you like it sweeter, try adding a drizzle of maple syrup after baking for an extra touch.
- Additions After Baking: Be sure to add dried fruit, chocolate chips, or other heat-sensitive ingredients after baking. The oven can burn dried fruit and melt chocolate, leaving you with a sticky mess. Adding these ingredients after ensures they retain their texture and flavor.
- Make It Your Own: This recipe is more of a guide than a rulebook. Swap the nuts, try a new sweetener, or toss in some spices like cardamom or even a pinch of cayenne for a little kick. Granola is all about personal taste – make it work for you!
- Experiment with Textures: Add extra crunch by incorporating puffed rice or quinoa into the granola mix. These ingredients add a light, crispy texture that pairs wonderfully with the denser oats and nuts.
Health Benefits
Homemade granola isn’t just about great taste – it’s also packed with nutrition. The oats provide heart-healthy fiber that helps keep you full and satisfied, while nuts and seeds add protein and healthy fats. By controlling the amount of sugar and fat, you can make sure that your granola is a wholesome addition to your breakfast or snack routine. Plus, the use of natural sweeteners like honey or maple syrup offers a less processed alternative to refined sugars found in many store-bought versions.
Nuts like almonds and walnuts are rich in omega-3 fatty acids, which are fantastic for brain health and reducing inflammation. Seeds like chia and pumpkin seeds provide additional fiber, protein, and essential minerals such as magnesium and zinc. Coconut oil adds a dose of healthy fats that help provide sustained energy, making this granola a perfect start to a busy day.
Frequently Asked Questions
- Can I use quick oats instead of rolled oats?
I don’t recommend it. Quick oats are more processed and will not give you the same hearty texture that rolled oats provide. Stick with old-fashioned oats for the best results. Rolled oats maintain their shape during baking, ensuring your granola stays crispy and satisfying. - How can I make this granola gluten-free?
Be sure to use certified gluten-free oats. Most oats are naturally gluten-free but can be contaminated during processing, so the certification ensures safety. Additionally, check that any add-ins like seeds or dried fruits are also gluten-free if you have severe sensitivities. -
Can I make this granola oil-free?
You can try substituting the oil with applesauce or mashed banana. Keep in mind, though, that the texture will be less crispy and a bit chewier. The oil helps to create that classic crunch, but applesauce or banana will give it a softer, cakier texture while still tasting delicious.
- What’s the best way to store homemade granola?
Kepp the granola and store it in an airtight container at room temperature for up to 2 weeks. For longer storage, you can freeze it in a sealed bag – just make sure it’s fully cooled before storing. Freezing helps retain freshness, especially if you’re making a large batch. - How do I make granola clusters?
To get those coveted clusters, press the granola down firmly on the baking sheet before baking, and let it cool without stirring. This helps it stick together and form those delicious chunks. You can also add an egg white to the wet mixture before baking, which acts as a binder to create larger clusters. - Can I use a different type of oil?
Absolutely! Olive oil adds a rich flavor that pairs wonderfully with oats, while avocado oil is another healthy choice. Each oil gives a slightly different taste, so feel free to experiment to find your favorite. - What can I add for extra protein?
You can add protein powder to the wet mixture before combining it with the oats, or include high-protein seeds like hemp hearts. Adding nuts like almonds or even roasted chickpeas can also boost the protein content of your granola, making it an even better fuel for your day.
Final Thoughts
Healthy homemade granola is all about making breakfast something to look forward to. With its golden crunch, customizable flavor, and wholesome ingredients, it’s a beautiful way to start your day off on the right foot. Plus, it’s surprisingly easy and fun to make – a little mix, a little bake, and you have a jar full of crunchy goodness that’s far superior to anything store-bought.
Whether you’re an avid granola fan or just looking for a healthier breakfast option, give this homemade version a try. It’s adaptable, tasty, and a perfect example of how eating well doesn’t have to be boring. Put on your chef’s hat, get creative with flavors, and enjoy every crunchy, satisfying bite.
So, next time you’re in the kitchen, whip up a batch of this granola. It’s not just about breakfast – it’s about creating something with your own hands that nourishes and delights. Enjoy it with yogurt, pack it for a mid-afternoon snack, or even gift a jar to a friend. There’s nothing quite like sharing something homemade, especially when it’s this good.

